×
- Hello
- Login or Register
- Quick Links
- Live Chat
- Track Order
- Parts Availability
- RMA
- Help Center
- Contact Us
- Shop for
- Acura Parts
- Acura Accessories

My Garage
My Account
Cart
Genuine Acura TL Clutch Master Cylinder
- Select Vehicle by Model
- Select Vehicle by VIN
Select Vehicle by Model
orMake
Model
Year
Select Vehicle by VIN
For the most accurate results, select vehicle by your VIN (Vehicle Identification Number).
4 Clutch Master Cylinders found

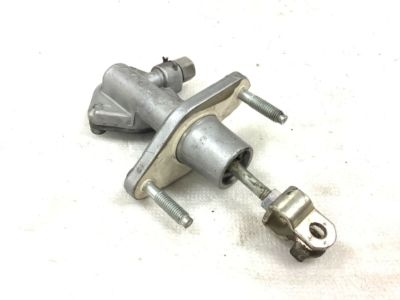
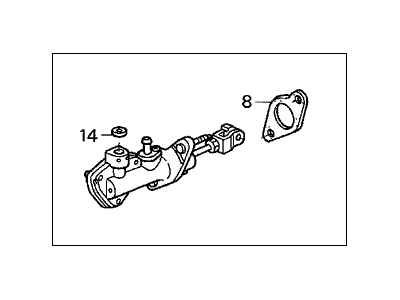
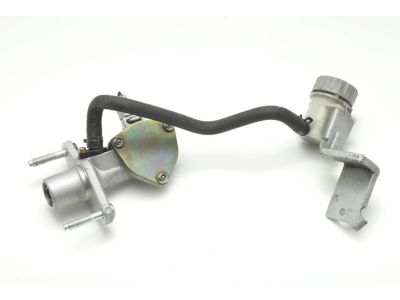
Acura TL Clutch Master Cylinder Assembly
Part Number: 46920-S7A-A05$194.21 MSRP: $277.37You Save: $83.16 (30%)Ships in 1-3 Business Days
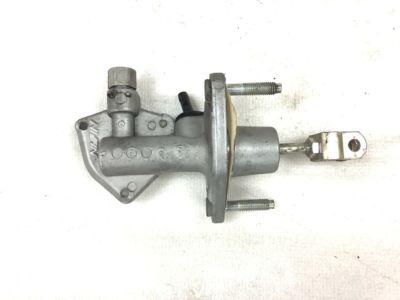
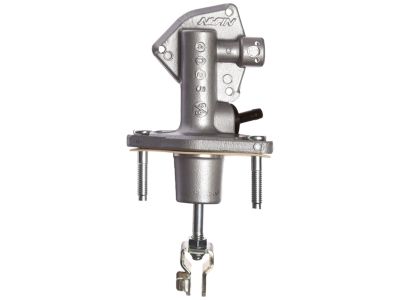
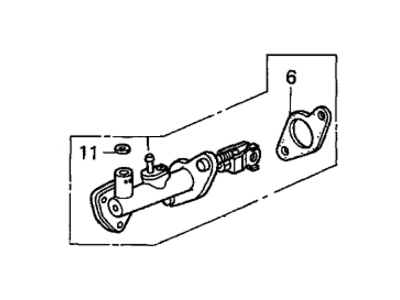
Acura TL Clutch Master Cylinder Assembly
Part Number: 46920-S7A-A04$194.21 MSRP: $277.37You Save: $83.16 (30%)Ships in 1-3 Business Days
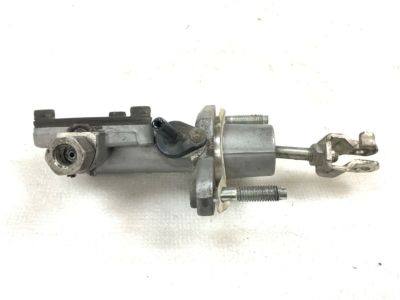
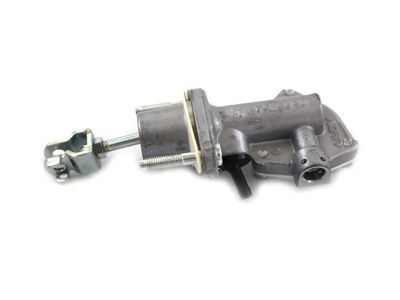
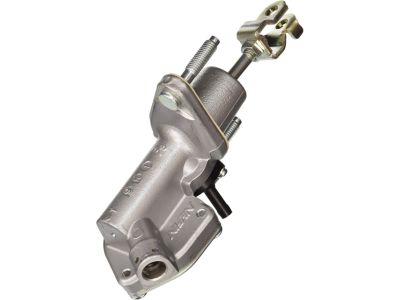
Acura TL Clutch Master Cylinder Assembly
Part Number: 46925-TA0-A02$189.81 MSRP: $271.08You Save: $81.27 (30%)Ships in 1-3 Business DaysAcura TL Master Cylinder Assembly, Clutch
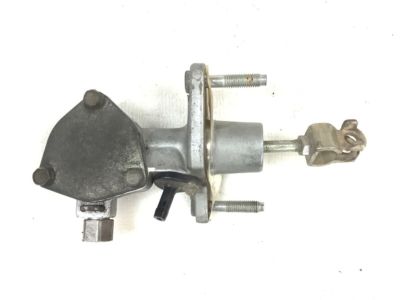
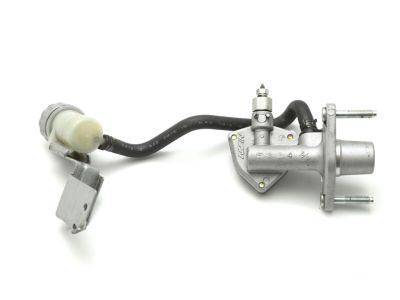
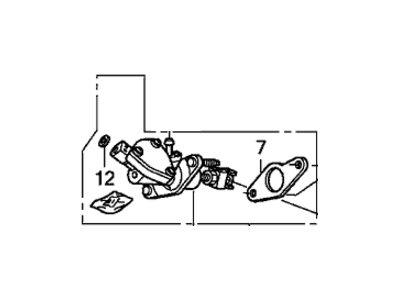
Part Number: 46925-TA0-A03$189.81 MSRP: $271.08You Save: $81.27 (30%)
Acura TL Clutch Master Cylinder
We provide a broad range of OEM Acura TL Clutch Master Cylinder at unbeatable prices on our website. For your OEM parts, You can count on the guaranteed quality, manufacturer's warranty, outstanding customer service, and prompt delivery. We look forward to your visit.
Acura TL Clutch Master Cylinder Parts Questions & Experts Answers
- Q: How to remove and install the clutch master cylinder on Acura TL?A:Remove the left side engine compartment cover and the front bulkhead cover. Next, take out the air filter housing, followed by the battery and battery tray. Remove the two mounting bolts from the fuse/relay box and position the assembly off to the side. Detach the clutch line mounting bracket and two clutch line clamps. Clamp a pair of locking pliers onto the clutch fluid feed hose a couple of inches downstream of the reservoir, ensuring they are tight enough to prevent fluid flow when disconnecting the hose. Remove the clutch fluid reservoir mounting bolt and set the assembly aside. Disconnect the hydraulic line at the clutch master cylinder by removing the retaining clip and separating the line from the cylinder, keeping rags handy to catch any fluid loss. Cap or plug the ends of the lines or hose to prevent fluid leakage and contamination, avoiding contact between brake fluid and paint to prevent damage. Inside the passenger compartment, remove the knee bolster and the trim panel from the driver's side. Under the dashboard, remove the cotter pin or spring clip from the master cylinder pushrod clevis, pull out the clevis pin to disconnect the pushrod from the pedal, and unscrew the two clutch master cylinder retaining nuts to remove the cylinder. For installation, reverse the removal steps, ensuring to use a new gasket between the master cylinder and the firewall, tighten the master cylinder mounting nuts to the specified torque, install a new O-ring seal on the hydraulic line fitting at the master cylinder, pry the tip of the retaining clip apart to secure it on the master cylinder pushrod clevis, fill the clutch master cylinder reservoir with brake fluid that meets DOT 3 specifications, and bleed the clutch system.
