×
- Hello
- Login or Register
- Quick Links
- Live Chat
- Track Order
- Parts Availability
- RMA
- Help Center
- Contact Us
- Shop for
- Acura Parts
- Acura Accessories

My Garage
My Account
Cart
Genuine 1989 Acura Legend Crankshaft Seal
- Select Vehicle by Model
- Select Vehicle by VIN
Select Vehicle by Model
orMake
Model
Year
Select Vehicle by VIN
For the most accurate results, select vehicle by your VIN (Vehicle Identification Number).
5 Crankshaft Seals found
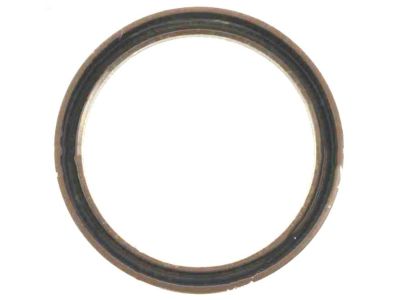
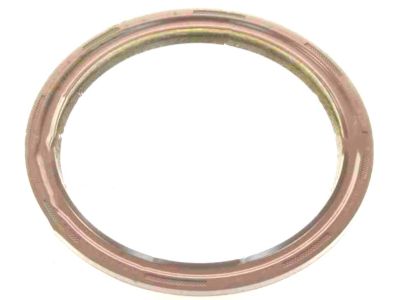
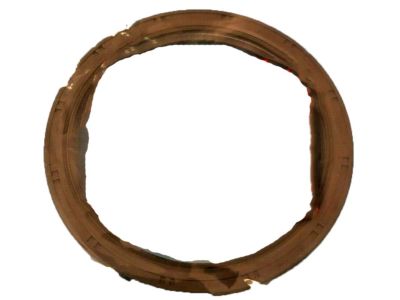
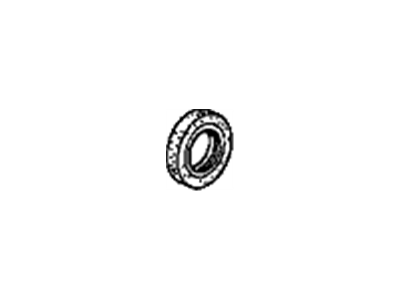
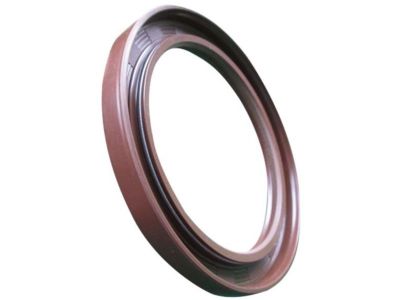
1989 Acura Legend Crankshaft Oil Seal (80X98X10) (Arai)
Part Number: 91214-RNB-A01$14.03 MSRP: $19.57You Save: $5.54 (29%)Ships in 1-3 Business DaysProduct Specifications- Other Name: Oil Seal (80X98X10) (Arai) ; Rear Main Seal; Rear Main Seal
- Replaces: 91214-PL2-004, 91214-PH7-003, 91214-PWA-003, 91214-PY3-003, 91214-PH7-004, 91214-PNA-014, 91214-RTA-004, 91214-PH7-013
- Item Weight: 0.50 Pounds
- Item Dimensions: 4.1 x 4.0 x 0.4 inches
- Condition: New
- Fitment Type: Direct Replacement
- SKU: 91214-RNB-A01
- Warranty: This genuine part is guaranteed by Acura's factory warranty.
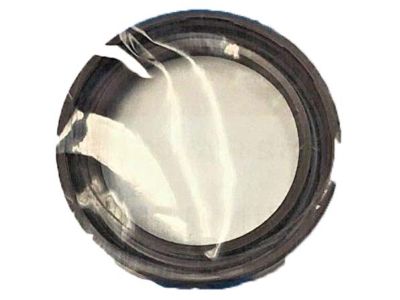
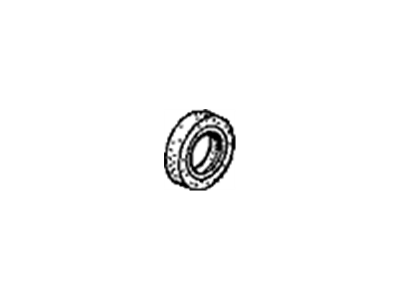
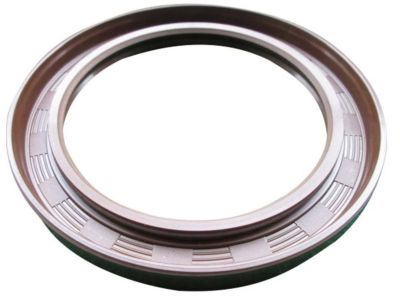
1989 Acura Legend Oil Seal (98X80X10)
Part Number: 91214-PL2-003$28.57 MSRP: $40.80You Save: $12.23 (30%)Ships in 1-3 Business DaysProduct Specifications- Other Name: Oil Seal (98X80X10) (Nok) ; Rear Main Seal; Rear Main Seal
- Item Weight: 0.50 Pounds
- Item Dimensions: 4.0 x 4.1 x 0.4 inches
- Condition: New
- Fitment Type: Direct Replacement
- SKU: 91214-PL2-003
- Warranty: This genuine part is guaranteed by Acura's factory warranty.
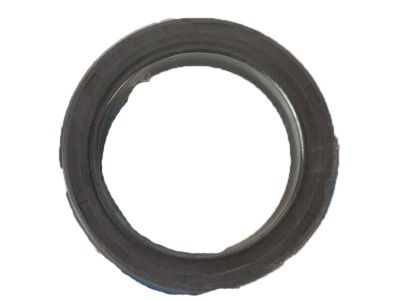
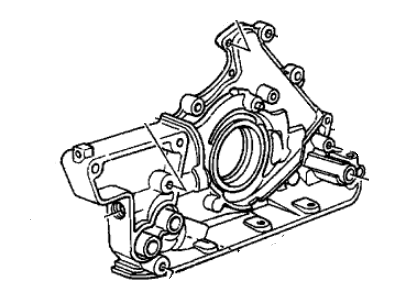
1989 Acura Legend Oil Seal (41X56X8)
Part Number: 91212-PY3-003$21.88 MSRP: $31.25You Save: $9.37 (30%)Ships in 1-2 Business DaysProduct Specifications- Other Name: Oil Seal (41X56X8) (Nok) ; Front Crank Seal; Front Crank Seal, Oil Pump Seal, Oil Seal
- Replaces: 91212-P5G-004
- Item Weight: 0.50 Pounds
- Item Dimensions: 2.3 x 2.3 x 0.4 inches
- Condition: New
- Fitment Type: Direct Replacement
- SKU: 91212-PY3-003
- Warranty: This genuine part is guaranteed by Acura's factory warranty.
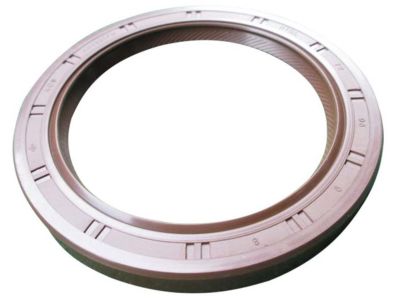
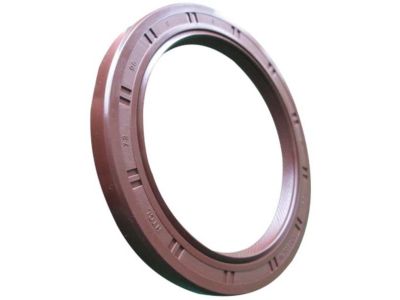
1989 Acura Legend Oil Seal (80X98X10) (Arai)
Part Number: 91214-PL2-004$13.70 MSRP: $19.57You Save: $5.87 (30%)Ships in 1 Business DayProduct Specifications- Replaced by: 91214-RNB-A01
- Item Weight: 0.50 Pounds
- Item Dimensions: 3.8 x 3.8 x 0.5 inches
- Condition: New
- Fitment Type: Direct Replacement
- SKU: 91214-PL2-004
- Warranty: This genuine part is guaranteed by Acura's factory warranty.
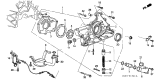
1989 Acura Legend Oil Seal (41X56X8)
Part Number: 91212-PH7-013$22.41 MSRP: $31.25You Save: $8.84 (29%)Ships in 1-3 Business DaysProduct Specifications- Replaces: 91212-PH7-003
- Item Weight: 0.50 Pounds
- Item Dimensions: 2.2 x 2.3 x 0.3 inches
- Condition: New
- Fitment Type: Direct Replacement
- SKU: 91212-PH7-013
- Warranty: This genuine part is guaranteed by Acura's factory warranty.
1989 Acura Legend Crankshaft Seal
If you find yourself requiring new genuine 1989 Acura Legend Crankshaft Seal, consider paying us a visit. We carry a vast inventory of OEM 1989 Acura Legend Crankshaft Seal, offered at highly competitive prices and superior quality, all with a manufacturer's warranty. Additionally, we take pride in our first-class customer service and speedy delivery.
1989 Acura Legend Crankshaft Seal Parts Questions & Experts Answers
- Q: How Should the Crankshaft Seal Be Installed to Prevent Oil Leaks on an 1989 Acura Legend?A: The crankshaft must be installed first, followed by bolting the bearing caps and bridge in place, after which the new Crankshaft Seal should be installed in the retainer and the retainer bolted to the block. It is essential to carefully check the seal contact surface on the crankshaft for any scratches or nicks that could damage the new seal lip and lead to oil leaks; if the crankshaft is damaged, a new or different crankshaft is necessary. The old seal can be removed from the retainer by driving it out from the back side with a hammer and punch, ensuring to note how far it is recessed into the bore for proper installation of the new Crankshaft Seal. The retainer should be clean, and a thin coat of engine oil must be applied to the outer edge of the new Crankshaft Seal, which should be pressed squarely into the bore; if a press is unavailable, the housing and seal can be sandwiched between two smooth pieces of wood and pressed into place with a large vise, ensuring the seal enters the bore squarely. If a vise is not available, the seal can be tapped into the retainer with a hammer using a block of wood to distribute the force evenly, ensuring it is driven in squarely. The seal lips must be lubricated with clean engine oil or grease before the seal/retainer is slipped over the crankshaft and bolted to the block, with no gasket required; instead, the surface should be cleaned and a 2mm wide bead of sealant applied to the retainer-to-block surface just prior to installation. Finally, the bolts should be tightened gradually to the specified torque.
Related 1989 Acura Legend Parts
 1989 Acura Legend Oil Filter
 1989 Acura Legend Oil Cooler
 1989 Acura Legend Engine Mount
 1989 Acura Legend Engine Block
 1989 Acura Legend Fuel Injector O-Ring
 1989 Acura Legend Camshaft Position Sensor
 1989 Acura Legend Oil Pump
 1989 Acura Legend Oil Pump Rotor Set